
Installation
Stand it, connect it, turn it on.
The pipework is fitted before it leaves our workshop. You make one connection: a garden hose, your chiller, or the pipe in your floor.
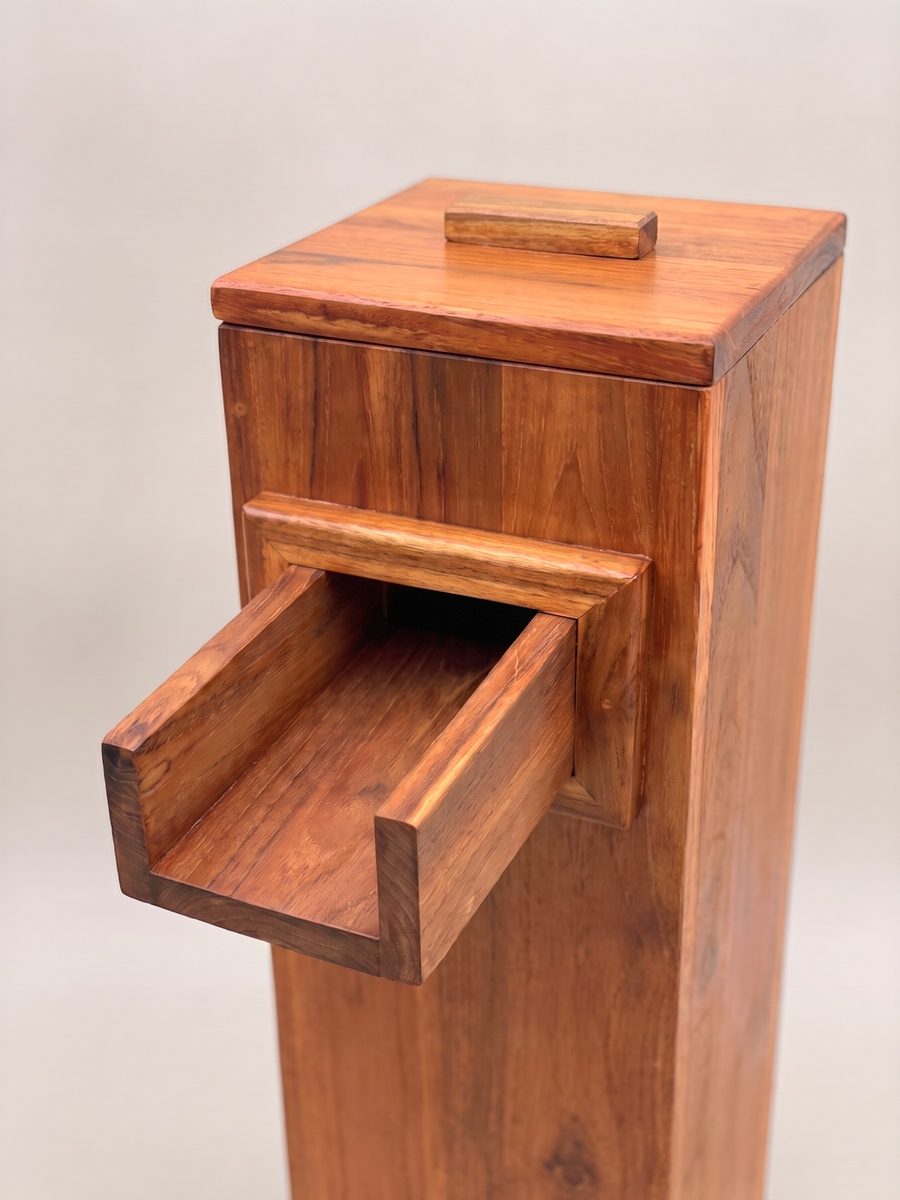
What you need
- Adjustable spanner.
- 1
- Roll of thread tape.
- 1
- For one person. The tower is light enough to lift alone.
- 10 min
- Plumbers. Every fitting screws or clicks on by hand.
- 0
Two models
Which connection do you have?
The model is the one you chose when you ordered.
| What | Model A · Underground | Model B · Above ground |
|---|---|---|
| Best for | New decks, paving and builds with buried pipe | Existing patios, chillers on the ground, hoses |
| Inlet | 12 × 12 cm · 4¾ × 4¾ in, in the base | Ø 7.6 cm · 3 in, in the back, 6 cm · 2⅜ in up |
| Visible hose | None | Behind the tower only |
| Connectors included | Hose and chiller | Hose and chiller |
Model A · Underground
Bring the supply up through the floor.
Bring the supply up through the floor
Finish the pipe just above the floor, inside the 12 × 12 cm (4¾ × 4¾ in) opening. The opening sits 7 cm (2¾ in) from the back edge of the base and 10 cm (4 in) in from each side.
Find the hose under the tower
Tip the tower onto its back on a towel. A 50 cm (20 in) braided hose hangs in a loop inside, ending in a swivel fitting.
Connect
Screw the swivel fitting onto your floor outlet. Using a garden hose or chiller instead? Screw the hose connector or the chiller connector into the swivel fitting.
Stand it over the outlet
Lower the tower over the pipe. Let the hose loop sit loose inside so it doesn't lift the base.
Turn it on
Open your tap or start your chiller. Check the joints for drips, then set the flow at the source.
Model B · Above ground
Connect through the back.
Place the tower
Stand it beside the bath with the back hole facing your hose or chiller. Leave room behind it for the hose to bend. The inlet is a Ø 7.6 cm (3 in) hole, centred 6 cm (2⅜ in) above the floor.
Reach the elbow
Put your hand through the back hole. The brass-threaded elbow sits just inside.
Fit a connector
Wrap the connector's thread with tape, five turns clockwise. Screw in the hose connector for a garden hose, or the chiller connector for a chiller.
Connect the hose
Click the garden hose on, or screw the chiller's ½" hose onto the chiller connector.
Turn it on
Open the tap or start the chiller. Check for drips, then set the flow at the source.
With a chiller
Send the cold water back through the spout.
A chiller has two hoses. One draws water out of the bath. The other returns it cold. Connect the return hose to the spout and the bath refills from above. Chiller hoses with ½" female ends screw straight onto the chiller connector in the box; other sizes need an adaptor from a hardware shop.
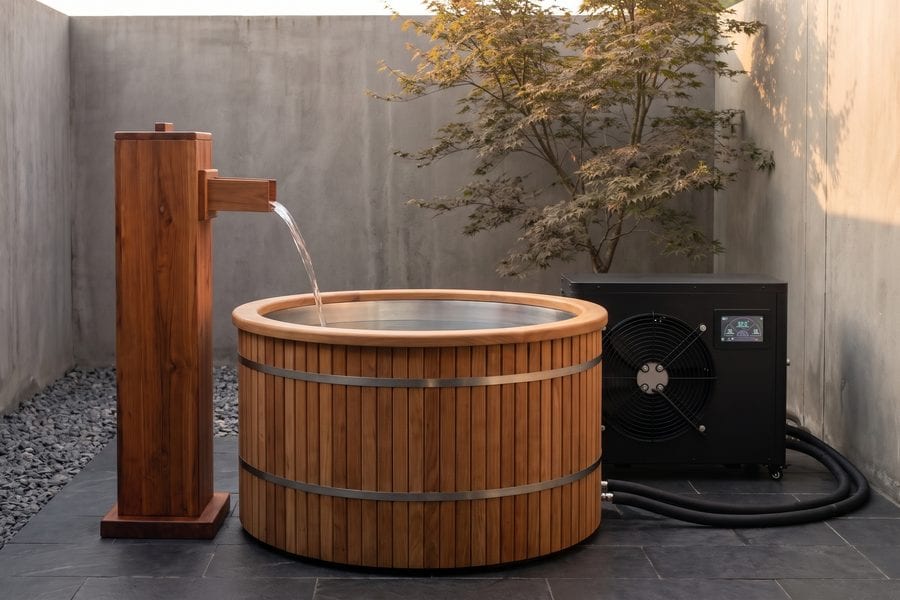
Placement
Where to stand it
Spout over the water
The spout reaches 16 cm (6¼ in) forward of the tower. Stand it so the lip sits inside the bath rim.
Level ground
Stand it on paving, decking or tiles. On grass or gravel, set a paver under the base first.
Rim height
The underside of the spout is 84 cm (33 in) above the floor, so it clears bath rims up to 80 cm (31 in).
Stuck on a fitting?
Send us a photo of your hose or outlet and we'll tell you what fits.